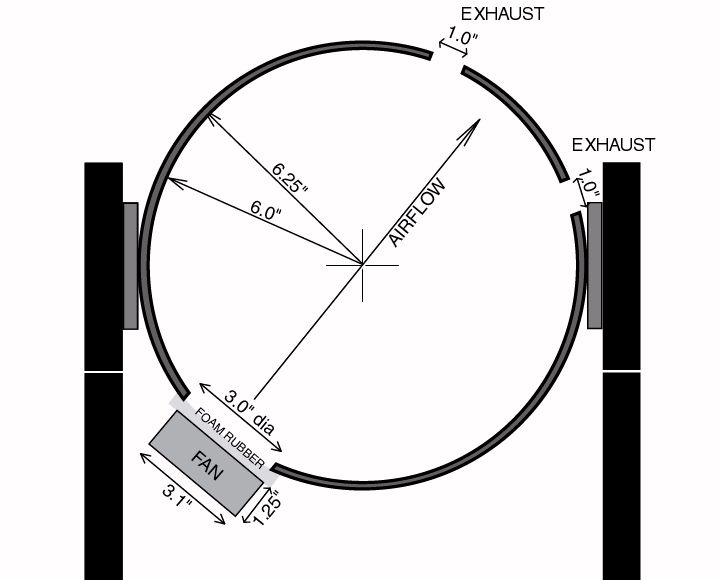
This is the plan. Mounting the fan too high would keep it from dispersing heat in an upward direction, while mounting it too low would require me to drill exhaust holes at the top of the tube, increasing the chances of debris falling into the tube. This is the compromise that I reached. Note how there are no holes directly opposite of the fan. This is to promote turbulent dispersion of the heat, and allows for some dispersion along the major axis of the tube. |
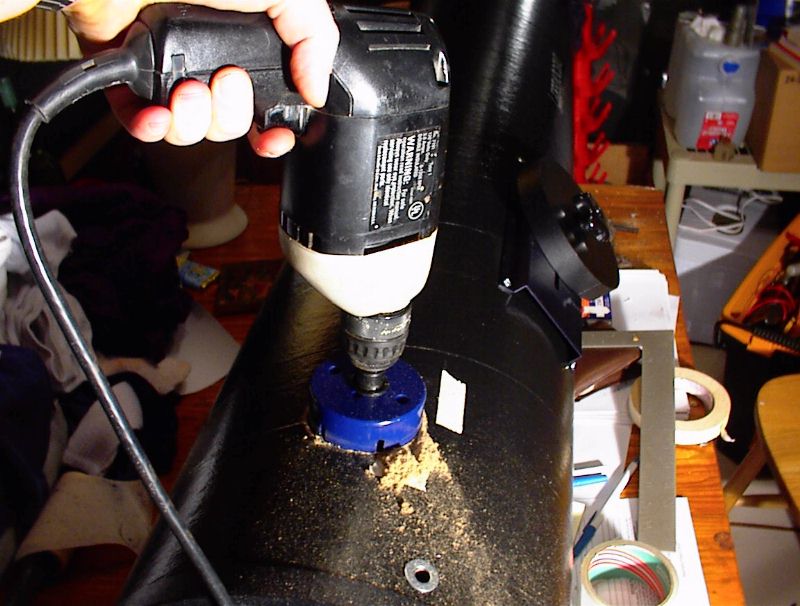
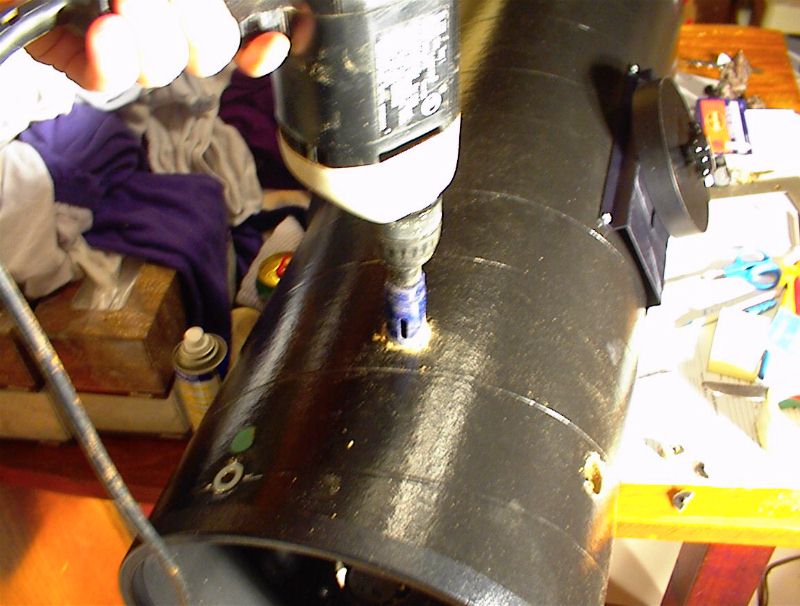
Augh!!!! Yes, I can hear you Discovery owners cringing with shock. However bear in mind that if you screw up, you can always get a new sonotube from the factory for less than $100 plus shipping. These tubes are pretty cheap. Here I am using a 3-inch drill bit to make the incision. I had test-fitted the fan to make sure there was no obstruction to the tube's movement, and I applied masking tape, seen here, to ensure a perfect location for the fan. The fan's longitudinal position is just ahead of the mirror, with the edge of the stream blowing across its face (the edge being about 5 inches from the lower end of the tube) |
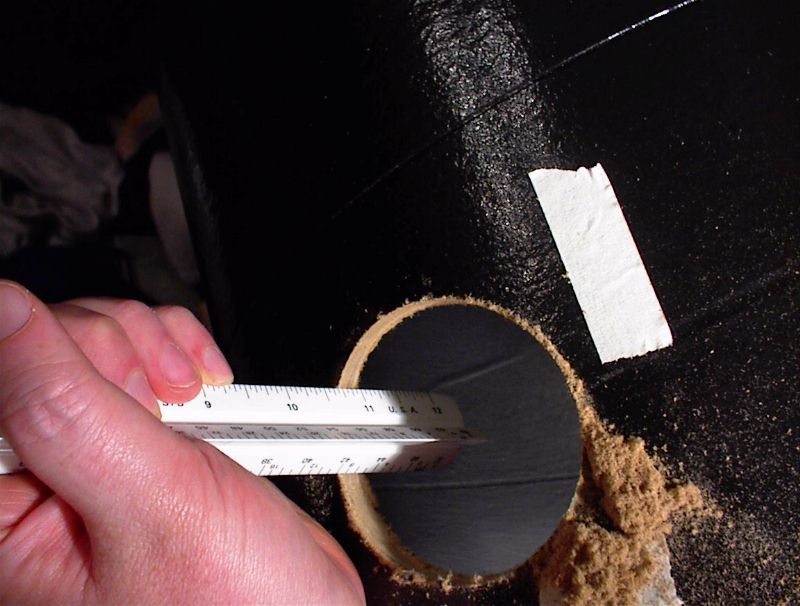
For anyone who's curious, this is an excellent time to see how thick the sonotube is. It's 1/4 inch. |
I made the mistake of not putting a sheet of paper down to catch the bits of sawdust. Thankfully this material is extremely dry and was easily cleaned up. |
Now I am drilling pilot holes for the fan. As soon as these holes are drilled, the 2-inch bolts go in, the head side inside the tube. |
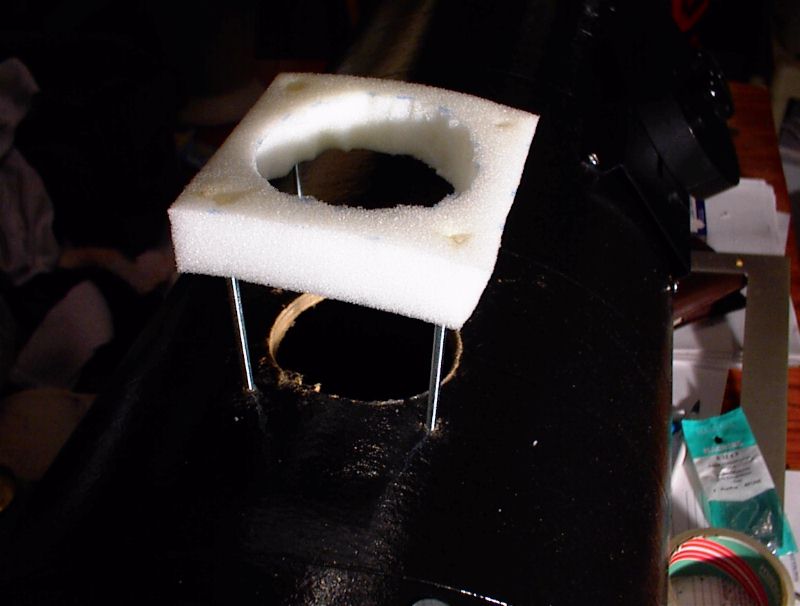
I press the foam rubber down hard onto the bolts to mark their position. Then I use a soldering iron to melt holes into the rubber. The foam rubber then slips easily into place. |
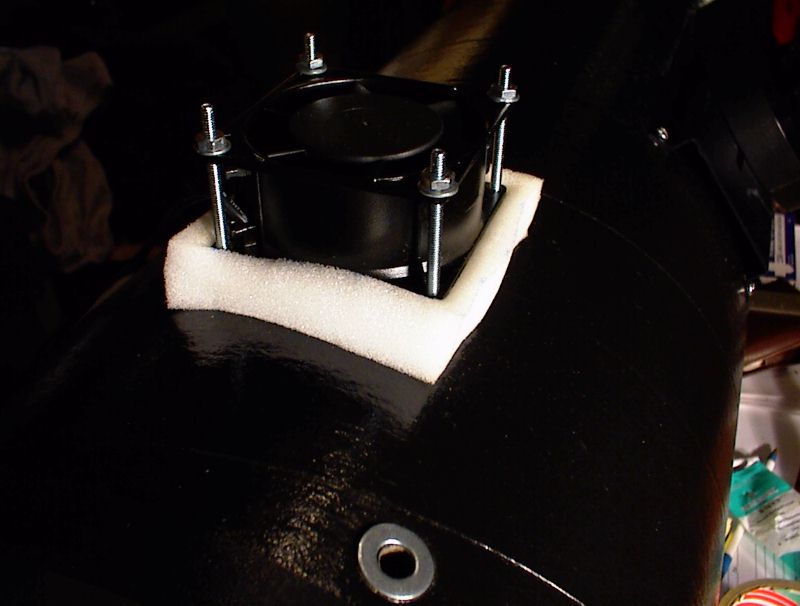
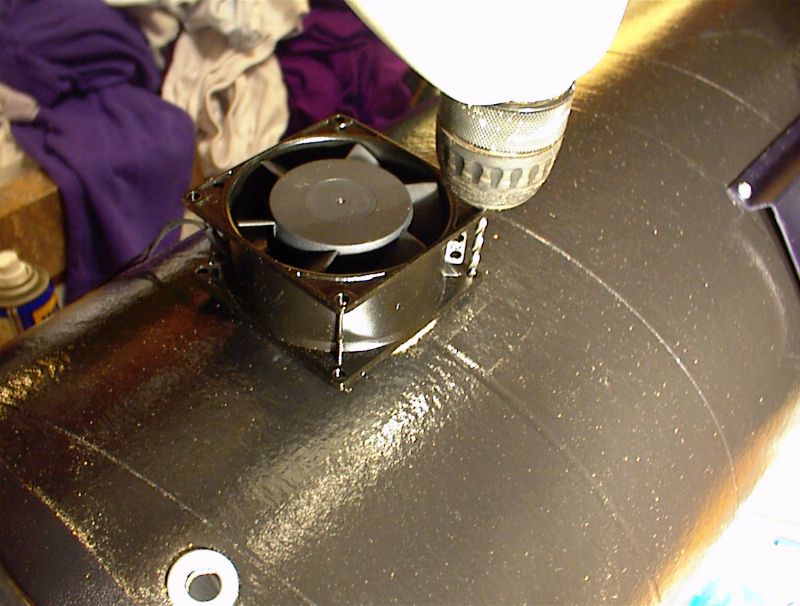
The fan goes on top, followed by the washers and nuts. Everything is tightened down. |
Finally the exhaust holes are drilled, using a 1-inch drill bit. |
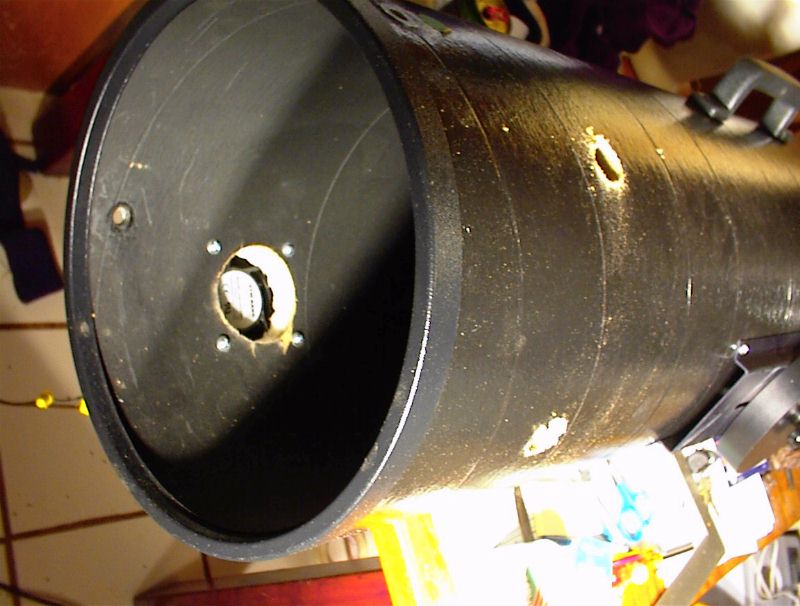
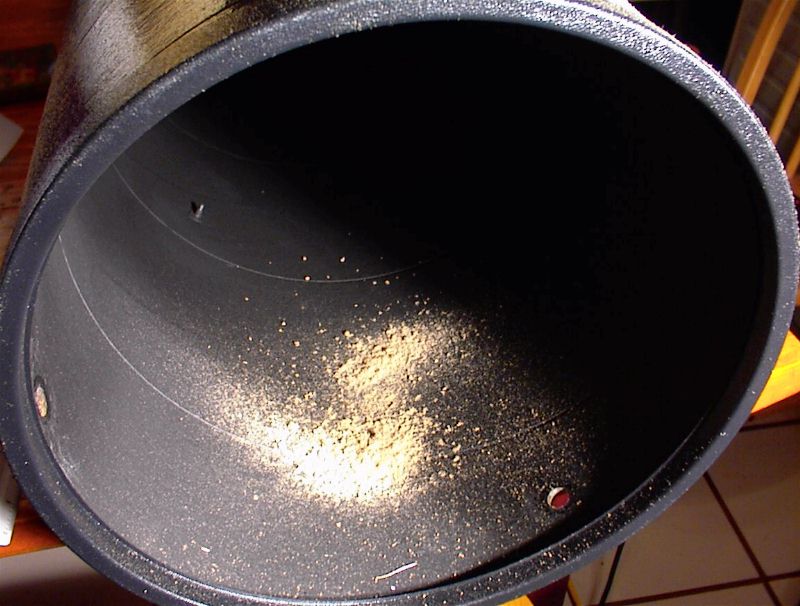
This is how the fan looks from inside the optical tube. You can see the relationship between the fan airflow and the exhaust holes. Note how it's a very clean installation, with nothing that could touch the mirror. One thing I'd like to do is find some rubber or plastic rings to seal off the drilled holes, but I'm afraid this may turn into a time-consuming goose chase! I may also install some extremely lightweight flaps, made of vellum or light cotton cloth, over the exhaust holes to keep the tube closed unless the fan is on. |